Learn The Dos And Don’ts Of Capturing Amazing Travel Pictures!
When you travel, one of the most important stuff you pack is your camera especially if you’re a travel photographer. Why?! Because you want to capture some moments for memory sake and some shots to reflect the place you’ve been to. But, sometimes you’re not that satisfied with the photos you take.
In fact, there are some dos and don’ts you want to consider while taking a travel picture. And they’re not that complicated at all. Just try to consider them next time and you’ll be surprised by the results.
This great article written by a professional travel photographer briefly talks about how you may not take a travel photo and shows you some principles in order to capture amazing travel pictures.
Read through this article, check out the images and let us know what you think!
The world is filled with incredible subjects: countless landscapes change over the course of each day as the light passes through them; cultures dress in vibrant colours and engage in mesmerizing rituals. We revel in these moments, snapping them with our cameras to bring back stories about the places we’ve been. But, how often have you looked through a friend’s travel photos and found your mind wandering?
The problem? You’re bored. Even when they’re depicting an incredible journey, boring photos can still make you want to fall asleep – something I call BTPS (boring travel photo syndrome). We’ve all felt the symptoms of BTPS at some point in our lives. To help avoid this, here are a few tips on what not to do when taking travel photos on your next adventure.
Don’t shoot flat images
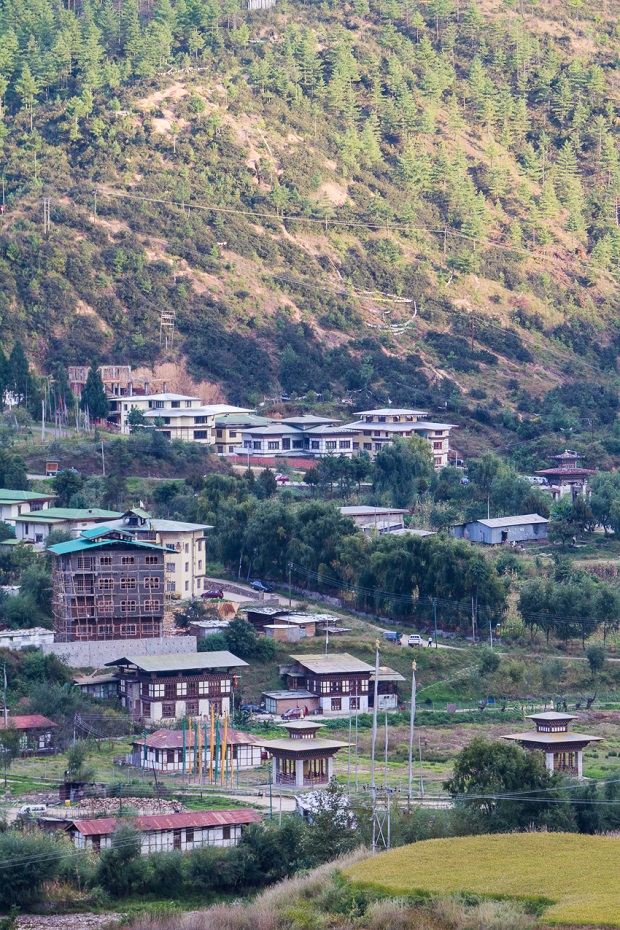
Here is an example of a flat image; while the subject is interesting, the image itself lacks depth. Depth gives your images more punch, more focus.
Boring Bhutan.
Do check to see if your camera has an aperture priority mode. If so, experiment with apertures set at lower numbers (like f/3.5 or f/1.8). Lower settings will help produce less depth in your photos, meaning some of your scene will be out of focus – and that’s a good thing. It lets the viewer focus on the most compelling element in the frame.
Do get closer. If your camera doesn’t have aperture priority, or if you’re using your phone, physically getting closer will add depth of field. (Zooming in works, too.) Start by taking a photo, and then get a little closer, and then one step closer still. Compare the images to see which one is the most engaging.
Getting closer gives your viewer the feeling they are there, too.Getting closer still makes a compelling and memorable image.
Don’t cram it all in
Not only can your images be flat, they can boring if your viewer doesn’t know where to look.
Do use the above “step closer” tip as a starting point to help differentiate your subject (where you want your viewer to focus).
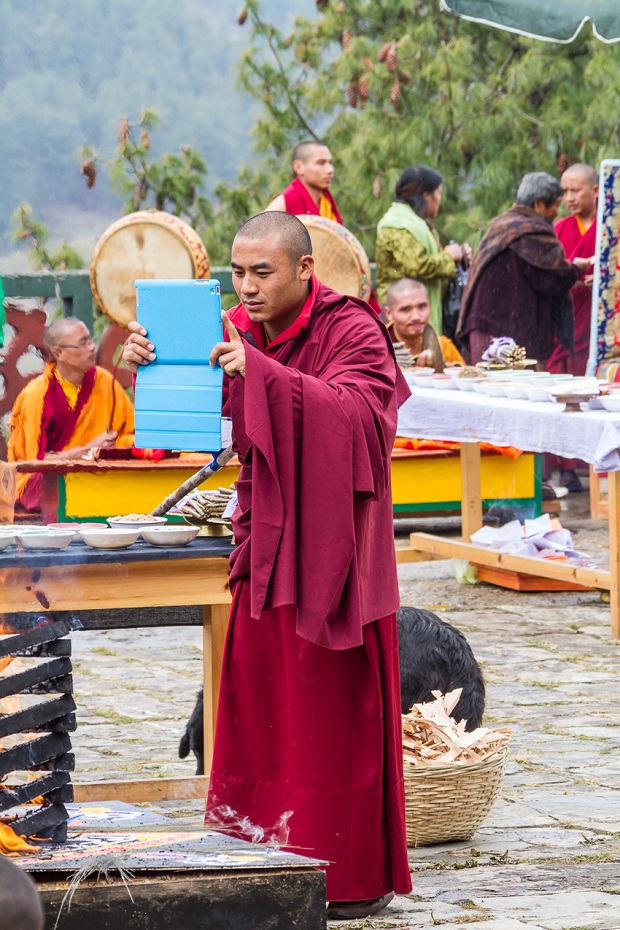
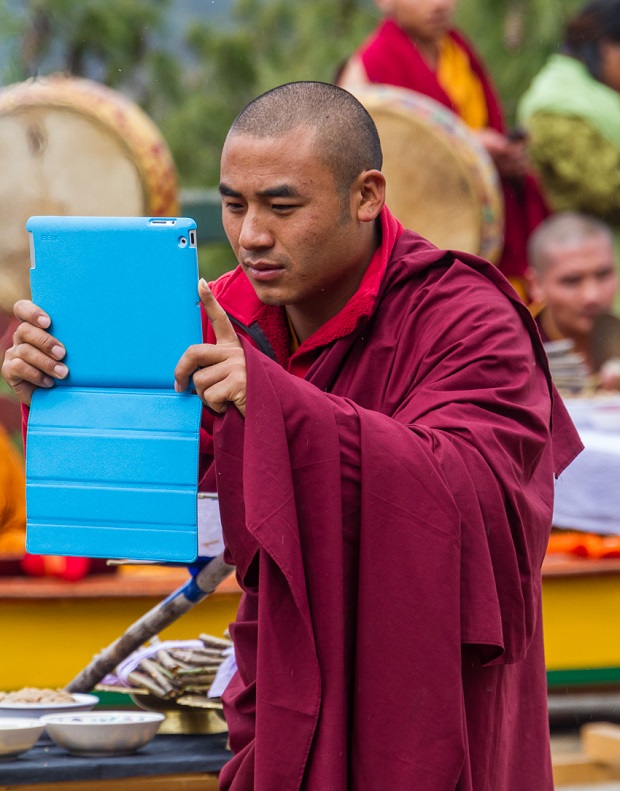
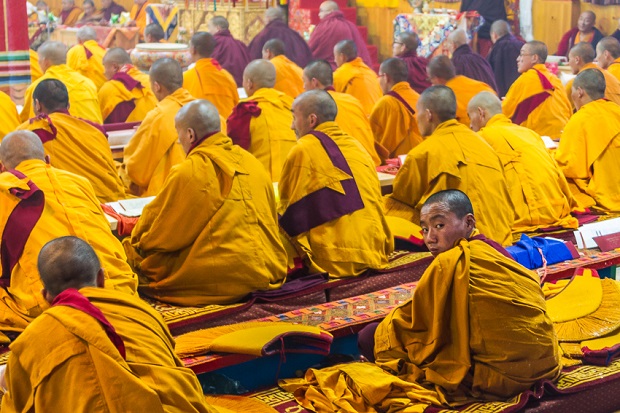
Do add in some simple tricks, like contrast or leading lines. Contrast can be the difference between light and dark, but it can also be one object contrasting with others in the scene, like this.
Monks in Bhutan.
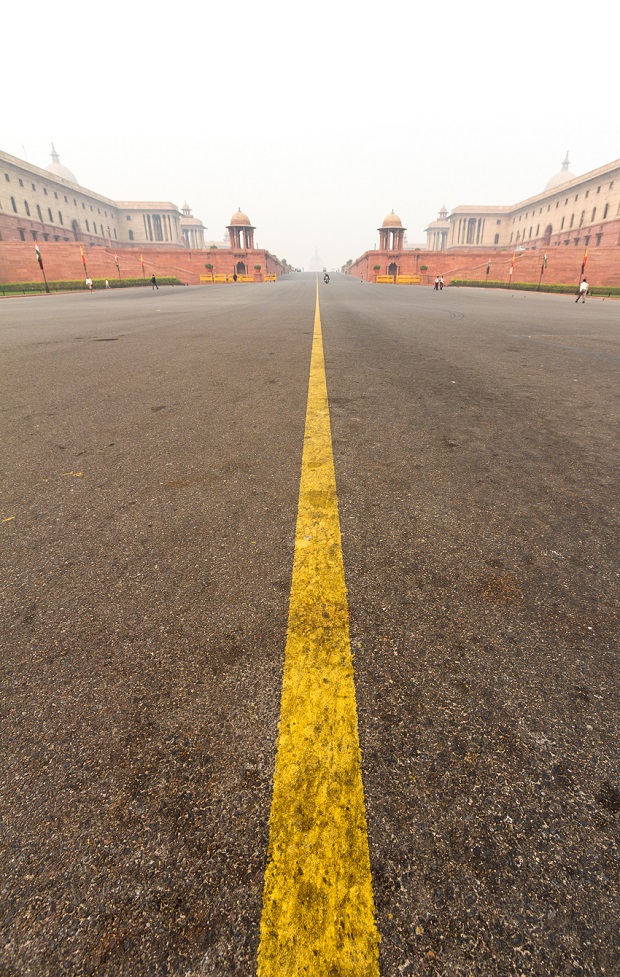
Leading lines are a simple way to point the viewer’s gaze to a specific place within your photo. The lines naturally take them in a particular direction, taking your viewer on a journey.
Road in Delhi, India.
……………….
Read the full article at gadventures.com and learn all the dos and don’ts there: